
Od sgcWebSockets 2022.10.0 pakiet sgcIndy można zainstalować za pomocą instalatora Windows.
Instalator sgcIndy odinstalowuje standardową wersję Indy dołączoną do Rad Studio, instaluje nową wersję Indy i rejestruje wymagane ścieżki.
Installation
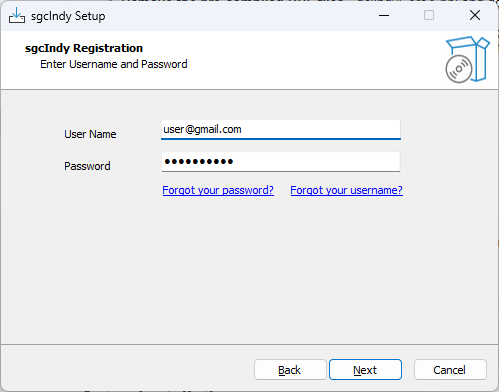
- Uruchom instalator.
- Najpierw wprowadź swoją nazwę użytkownika i hasło do prywatnego konta eSeGeCe. Dane te trzeba podać tylko raz — przy następnym użyciu instalatora zostaną odczytane automatycznie.
- If the user has login successfully, select if you want to install in Delphi, CBuilder or Rad Studio IDE.

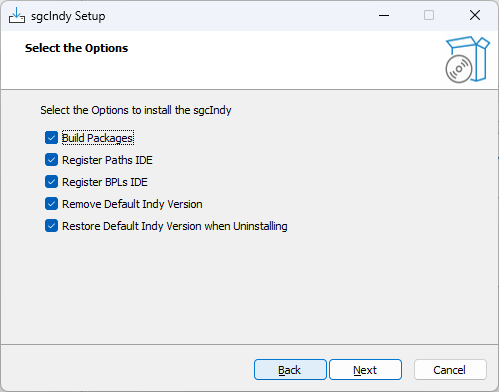
- Dostępne są opcje, które możesz dostosować za każdym razem, gdy korzystasz z instalatora — naciśnij przycisk Options, aby uzyskać dostęp do tych właściwości.
- Build Packages: jeśli zaznaczone, instalator spróbuje skompilować pakiety.
- Register Paths IDE: jeśli zaznaczone, instalator zarejestruje wymagane ścieżki bibliotek w IDE.
- Register BPLs IDE: jeśli zaznaczone i instalator pomyślnie skompilował pakiety, zarejestruje pakiet czasu projektowania w IDE.
- Remove Default Indy Version: jeśli zaznaczone, instalator najpierw odinstaluje standardową wersję Indy dołączoną do Rad Studio.
- Restore Default Indy Version when Uninstalling: jeśli zaznaczone, instalator przywróci odinstalowaną standardową wersję Indy podczas deinstalacji pakietu.
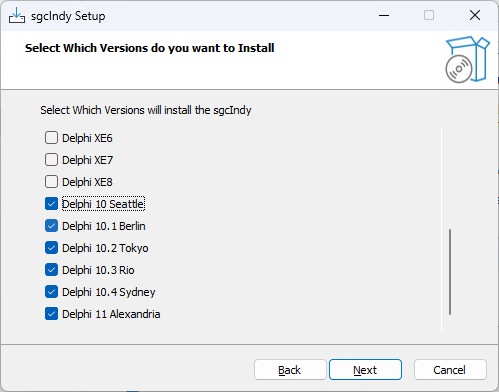
- Now you can select which IDE Versions you want to install. Only those IDE versions that the installer detect as installed, will be available.
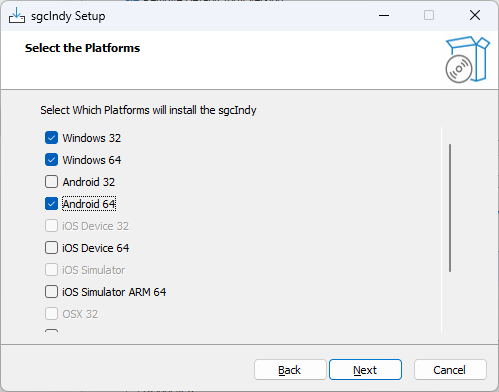
- Next step is select the Platforms.
- Select the folder where the package will be installed. If you reinstall the package, the installer will select by default the same folder selected in the previous install.

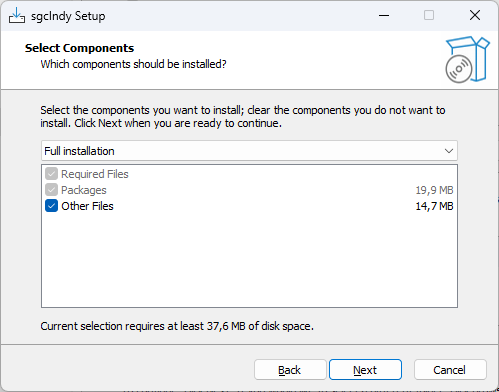
- Select which components to install.
- Na koniec zostaną wypakowane pliki, skompilowany i zainstalowany pakiet oraz zarejestrowane wymagane ścieżki w IDE.